When you have a special event such as a baby shower, bridal shower or momentous birthday celebration, there are so many items that can be saved as mementos. It is fairly easy to save photos in an album. Or, you can be a bit more creative and make a scrapbook for your photos and cards. However, it can be difficult to read handwritten sentiments, or save that cake topper or other favor and not lose track of it. Roughly a year ago, I was delighted to learn about making pocket albums from a scrappy friend and now I'm hooked!
Pocket Albums are simple to make and afford you lots of creativity! The best part is that you control how many pages/pockets that it has, as well as, how big to make it! For this blog I will show you 3 different albums I have made. All were made for baby showers but were unique in their own right. One was for a baby shower where the expectant parents did not want to know the sex of their baby (A), one was for a baby boy (B) and the last for a baby girl (C).
I used the shower invitations to help me select my color palettes and also, where I found appropriate papers, my page themes. In the interest of longevity, I selected Tyvek envelopes over paper ones because they are so difficult to tear. Hopefully, they will stand the test of time and usage. The size of the envelope that I preferred was 10" X 13", however, there is no set size to use. The 10" X 13" envelope works out well for storing the larger cards (5"x7") because once you fold them in half, the pages/pockets are 6.5" X 10". Using 4 or more envelopes, folded in half with the sticky flap cut off, I decorated each page/pocket. I tried to keep about half an inch from the fold clear to allow for punched holes for the ribbon that would bind them together. The pages that became pockets for memorabilia or cards were more stable when I used heavier double-sided papers. To adhere the paper to the Tyvek I chose 1/4" Terrifically Tacky Double-sided tape and applied it to the edges of the paper. On some of the pages I used Xyron's Cheetah (2" and 4" permanent) to apply adhesive on pretty much the whole page for a strong bond. Each envelope provides 1 side that is sealed and one side that is open when folded in half. Be sure to design your pages, keeping in mind the placement of the pockets. I found it easier to place things into the pockets if they were alternated with the sealed pages except for the last page. I tried to keep the pocket side on the inside and not have it be the back page. To make designing the pages easier, I trimmed the flaps off of all envelopes, then folded them in half and stacked them one on top of the other keeping the pockets alternated. I decorated the pages in order and then punched 5 holes through 2 envelopes at a time using my Crop-o-dile Big Foot. I used the large hole punch and placed the holes equidistant (1" from top and bottom, 3" from top and bottom and in the middle.) Using 3 yards of sturdy ribbon - I like to use grosgrain - lace the pages together criss-crossing between the holes. Start at the top (or bottom) and after lacing to the end slide the ends back up to the middle to be able to wrap them around the album a couple of times to secure the contents.
I hope these notes are good enough for you to follow. I'm slowly learning how to write down directions so please let me know if they need more clarification! I hope the pictures make them easier to understand.
Here's (A)


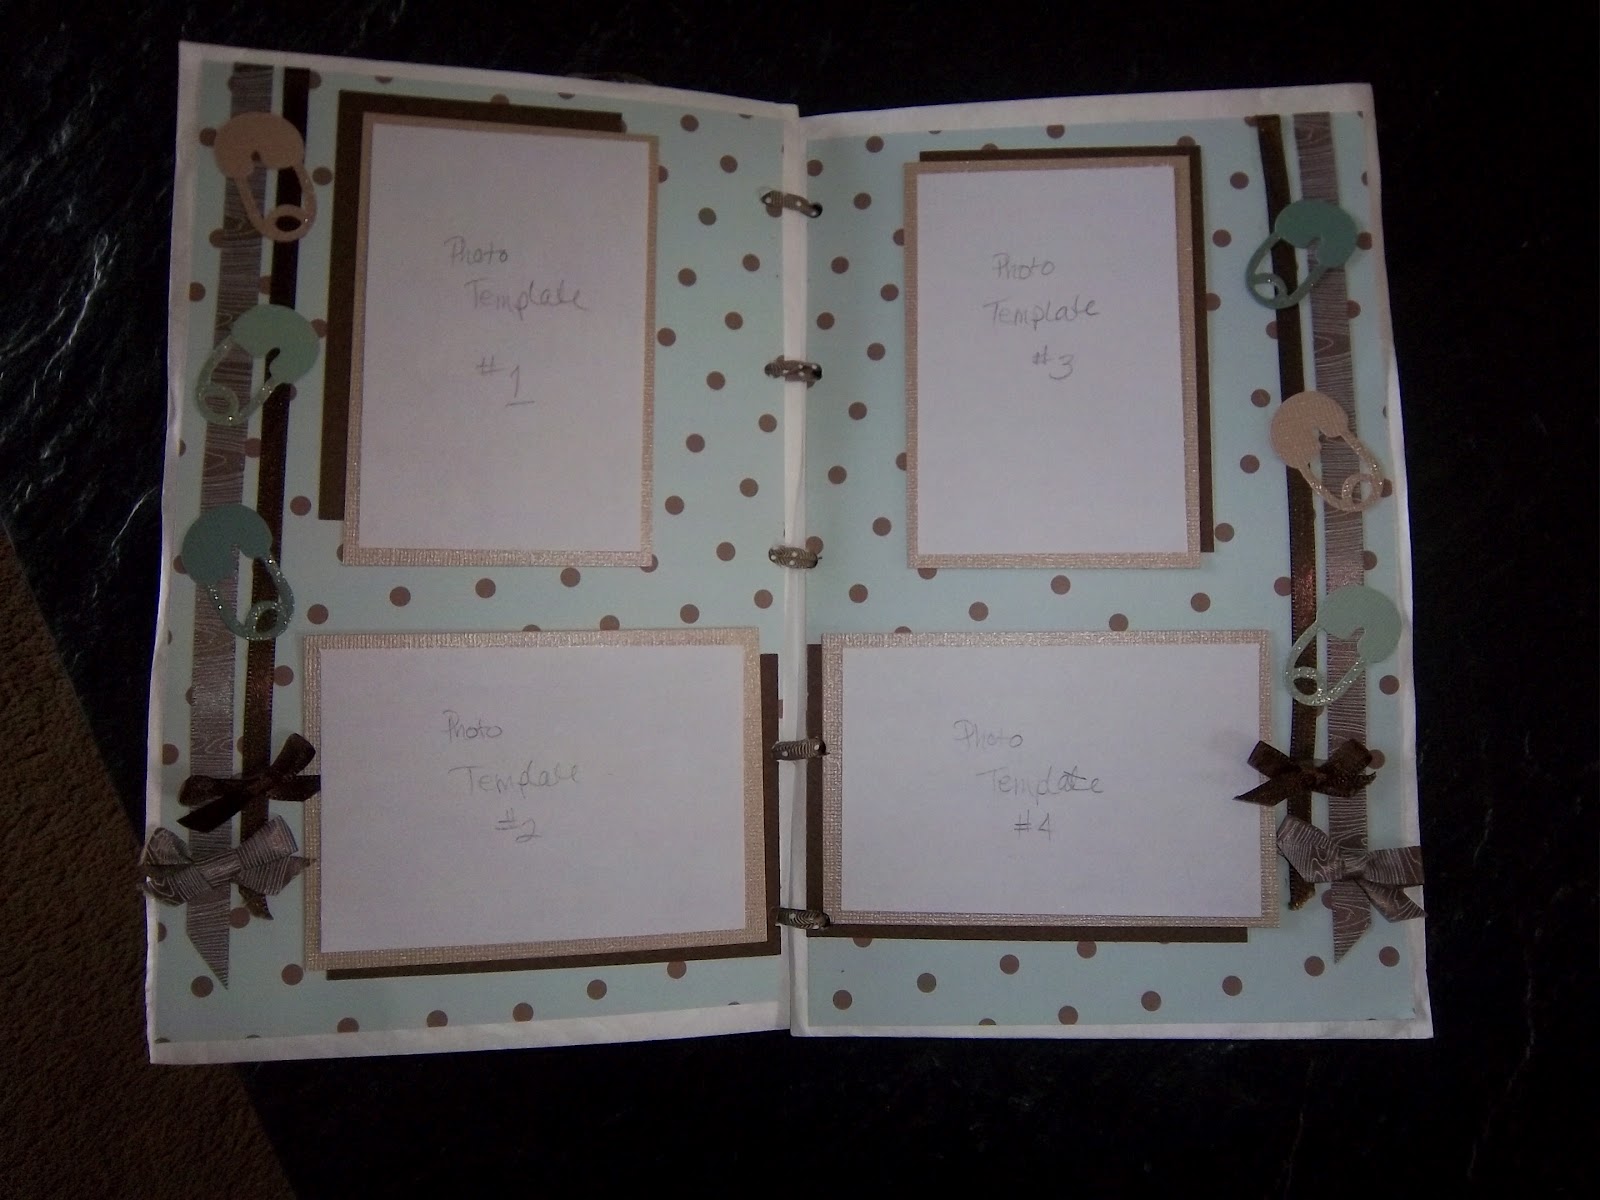
I tried to provide templates for cutting pictures to the proper size on the page.
Here's (B) :


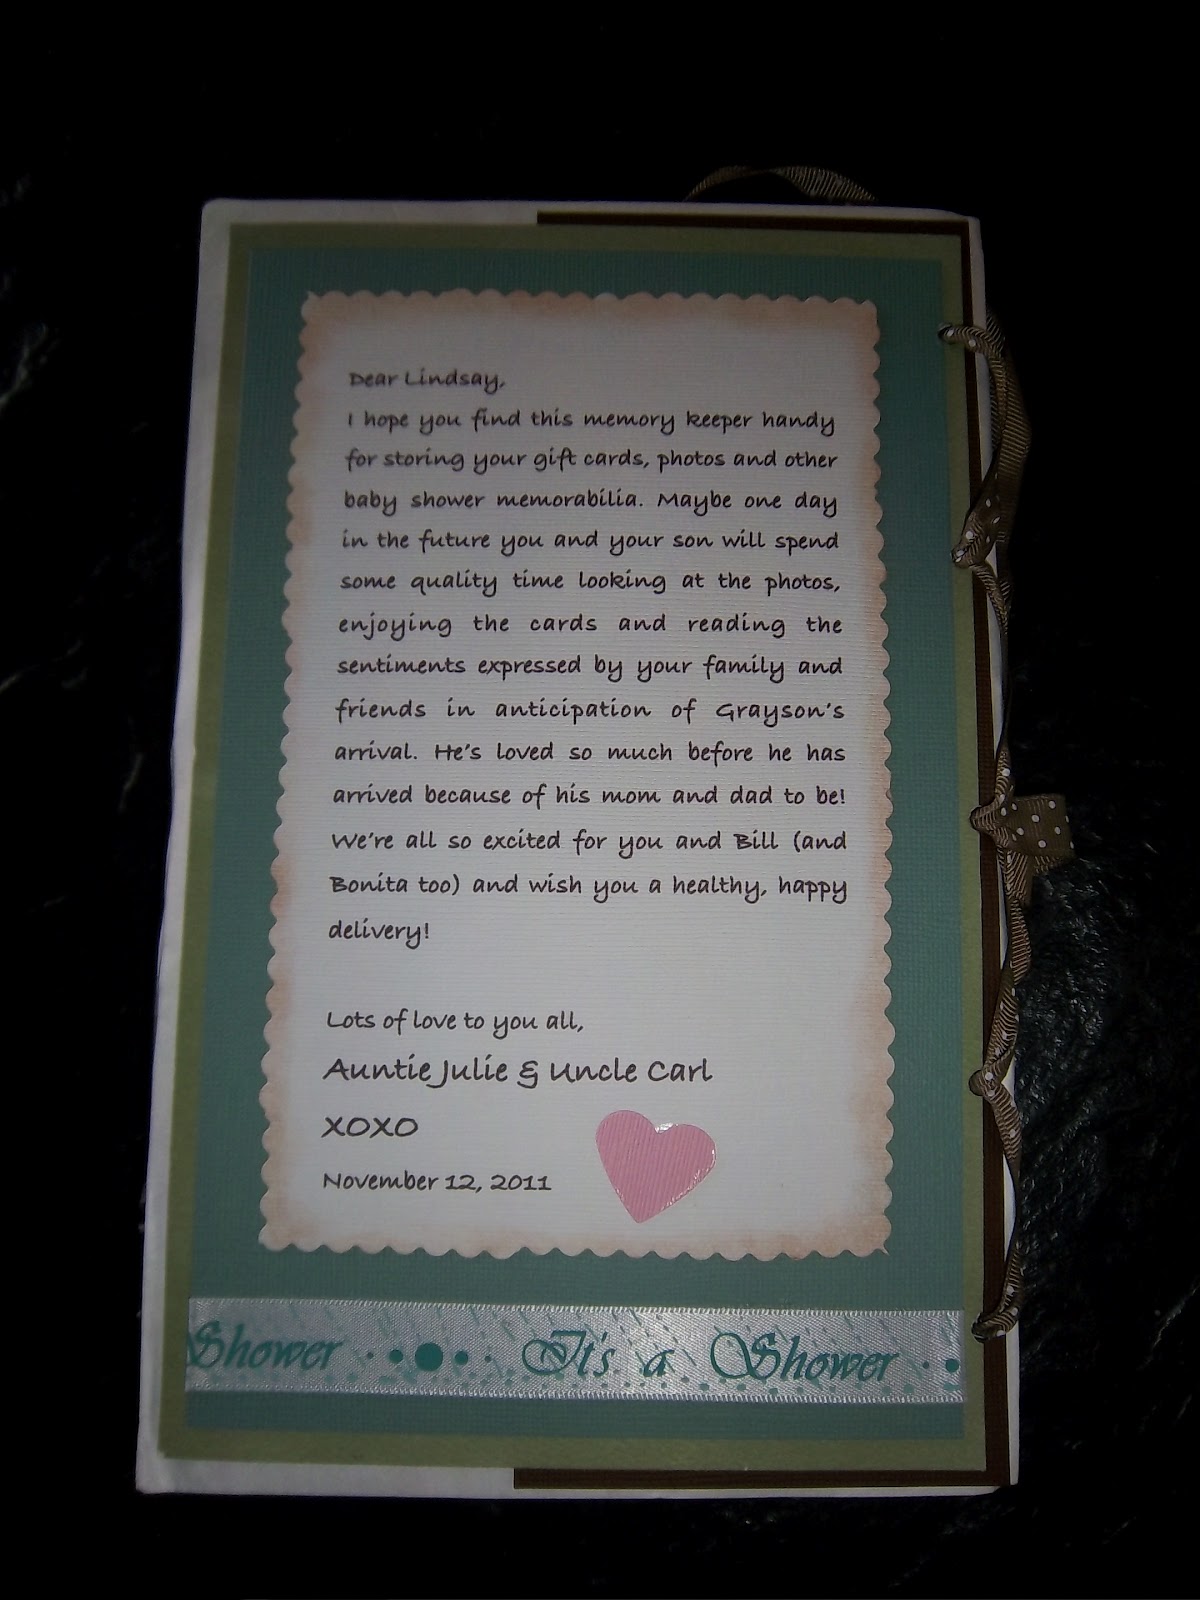
Pockets can be used to hold cards and notes, extra photos, streamers, favorite wrapping papers, etc. And last but not least, (C) :


I would love to hear from you so please drop a note! It's been fun sharing my passion for memories and fun ways to preserve them!
See you next time and have a sparkling day!
I've seen them all and they are gorgeous. Thanks for posting. I need to print this out for when I make one.
ReplyDelete